With the proliferation of interfaces and internet connections, the performance of a website and page load time are becoming increasingly important issues. Whether it is improving the user experience or optimizing your natural referencing, managing your image files is a lever to work with rigorously. We are going to answer together with the question that many of our clients ask us: how to optimize images for the web?
The efforts to improve your images must be done in parallel on two axes: the optimization of the weight of your images and the relevance of the information transmitted to the robots of the search engines.

The steps to achieve this double work are quite simple:
- Choose the format suited to your needs: JPEG for good quality photos, PNG to meet transparency needs, or GIF for animations.
- Optimize the weight of your images: resize your files, export with a suitable configuration, and compress your files online.
- Fill in the textual information: Rename your file with an explicit title and fill in the “alt” and “title” attributes with relevant information.
These different elements are interconnected. It is important to think about optimizing your images as a whole and to put in place processes and methods that will harmonize the practices within your company.
Whether it’s compression or even speed testing, there are several free SEO tools available online. While they won’t replace the paid suites, they will save you time and valuable information.
Step 1: Choose a format optimized for the web
The first step in optimizing your images for the web is choosing the format . Today, there are mainly three formats compatible with all browsers: JPEG, GIF and PNG . A new format, WebP, appeared a few years ago, but it is still not supported by Safari. We will therefore only discuss it briefly later.

The different formats each have their advantages and disadvantages. You have to know which format to choose according to our needs, our constraints, and the context.
The JPEG format for high-quality photographs and images
The JPEG format will be the most suitable option for photographs and images composed of a wide range of colors. Indeed, one of its main advantages is that it can handle more than 16 million colors.
On the other hand, this format does not support the compression of images containing significant differences in contrast between close pixels. The level of compression will therefore have to adapt to each image otherwise it will result in poor quality, pixelated and blurry rendering.
This format is still the most widespread on the web as it allows to obtain high-quality results while respecting an optimized weight for the web.
PNG format for transparency purposes
The PNG files are promoting to bring transparency to images. This format is therefore ideal for all elements requiring a play of opacity or an invisible background such as logos or other “decoration” elements.
There are two types of PNG: PNG-8 and PNG-24. The first will consist of a range of 256 colors while the second will save files of more than 16 million colors.
We will therefore move towards the PNG-8 for all lightly colored elements. If you don’t need to animate your visual, PNG-8 is better than GIF. It will result in much lighter files. Although better in terms of compression and management of the contrast between close pixels, the PNG-24 is closer to the quality of a JPEG while generating files 5 to 10 times heavier. If you don’t need transparency, then favor the use of JPEG for your high-quality material.
GIF format to generate animations
The GIF format will be given priority for elements requiring an animation that cannot be managed in CSS3. Indeed, the GIF is a format that can contain several images in the same file. However, the files will only support 256 colors and therefore are not suitable for high qualities.
You can adjust many parameters to optimize the quality and size of your GIF files. Note here the screening, the number of images, the range of colors used, etc.
GIFs are therefore to be used for small animated files that do not offer too large a color palette. For any other need, JPEG or PNG will surely meet your expectations.
The WebP format, the future standard?
The WebP format was invented by Google in the 2010s to become the new standard for web images. Its main advantage is that it keeps the quality of an image by reducing its weight by 30% or more.
In a world where web performance and load speeds are becoming major strategic issues for all online sites, this format is supposed to bring real evolution to the web.
In addition to supporting animated images and transparency, this format offers two types of conversion: the first with loss will reduce the size of the files as much as possible while the second without a loss will still effectively reduce the size of your file. without degrading the quality.
With all of these benefits, why isn’t WebP already the standard format? For many years, browsers did not support the WebP format, which made it unusable for most Internet users. If Firefox, Edge, and others started using WebP a few years ago, the digital giant Apple and its Safari browser still do not support WebP. Out of a desire to block competition? We let you come up with your conclusions. Still, the project will not be considered as the new standard until it is supported by all browsers.
Step 2: optimize the weight of your images
With the advent of mobile browsing, it is increasingly important to optimize the loading speed of your site. It is frequently observed that more than half the weight of a page is linked to images. It is therefore essential to upload correctly optimized images.
The improvement of the weight of an image is divided into several stages: the size, the export from your graphics software, and the compression final.
Put your visual to the right dimensions
The first step in optimizing the size of your image file is checking the dimensions and resolution. During the various SEO audits carried out, we often see that some photos have been uploaded more than 3000px wide, with too high a resolution and that they exceed 1 MB. This kind of error leads to uploads much longer pages.
It is important to provide an image that allows you to take full advantage of the size and quality of your users’ interfaces without neglecting its weight. Adapt these dimensions to your site and remember to always check the quality on different interface sizes (from mobile to 30 “screen).
You will still be able to resize your image directly on your site in CSS, but that will not change its weight and the demand for resources to download it. To promote a satisfactory loading speed, we strongly recommend being as close as possible to the desired size before uploading.
Export your image for the web
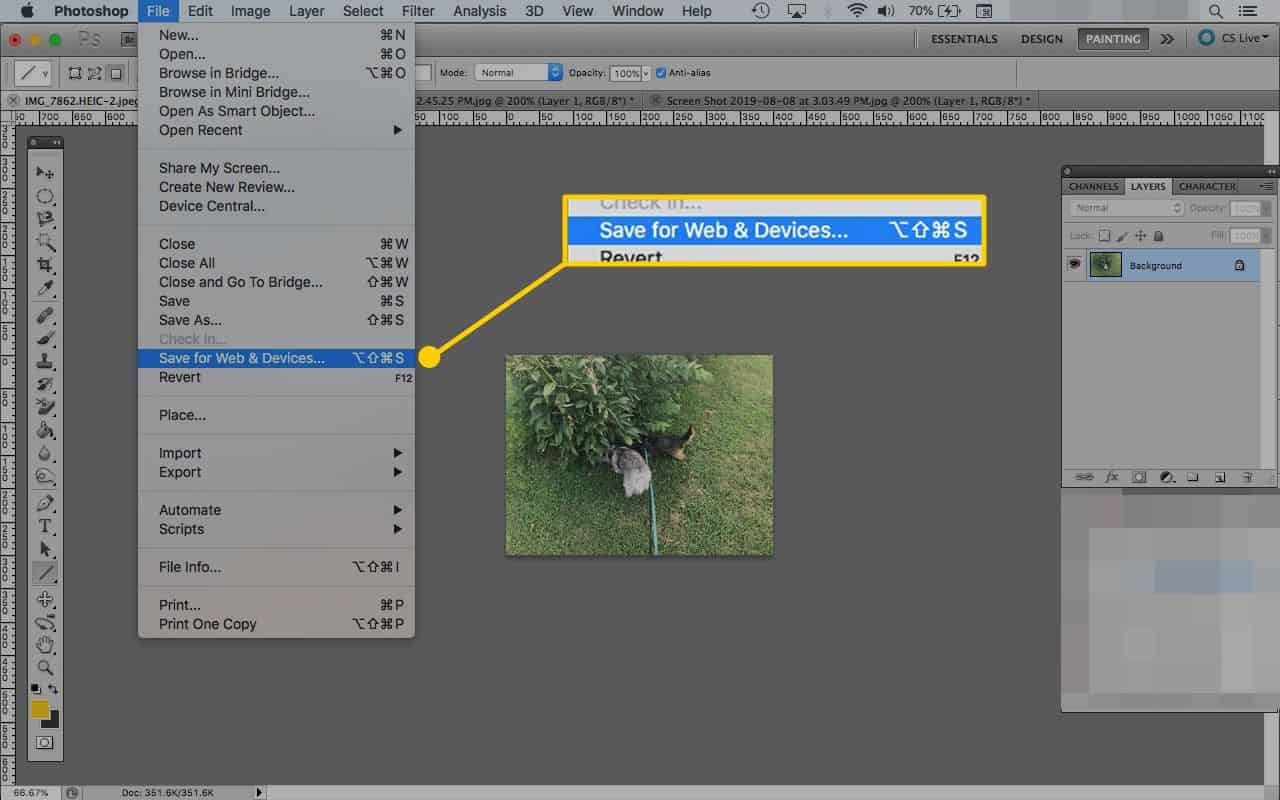
Photoshop, the most used graphics software in the world, offers a very interesting option for exporting your visuals: “Save for the web”.

This option allows you to choose the format, to resize if it was not already done before (red box on the example), and to choose a level of compression and quality of your visual files (yellow box). We advise you to play with the “Quality” slider to obtain the best quality/weight ratio.
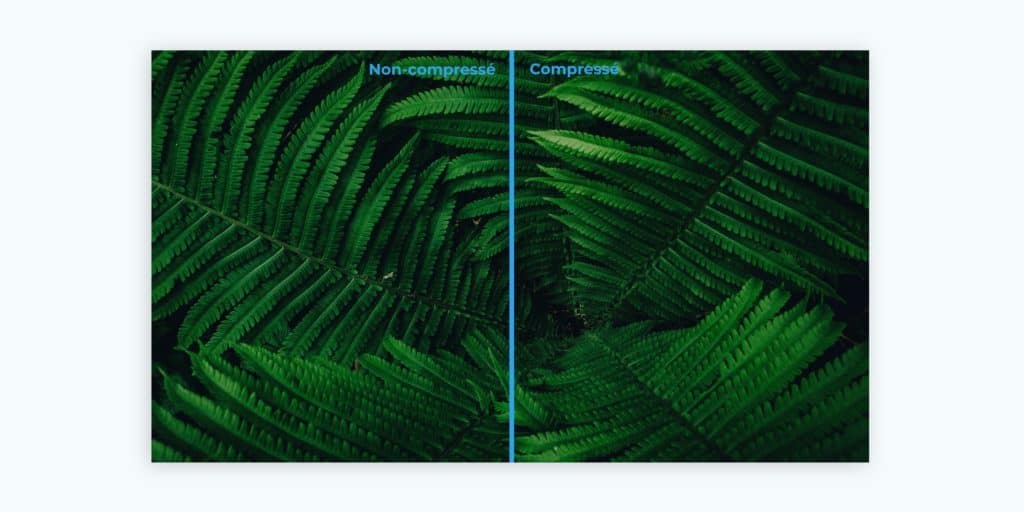
Beyond 75 quality, the difference is hardly visible to the naked eye for very interesting weight optimization. Perform your tests and validate a process specific to your site.
If you don’t have Photoshop, you are given a trick that is worth gold. There is an online software very similar to Photoshop and offering more or less the same functionalities: Photopea.
Compress your image
You should now have an optimized file respecting certain dimensions. A final step will further reduce the weight of your image without degrading the quality. There are many free image weight optimization tools available on the internet. We usually use very good TinyJpg and TinyPng. You are free to find the tool that suits your work habits.
These tools are very easy to use: you upload a file and validate. The tool then automatically compresses your file and offers you a download link. In the paid version, it is also possible to compress images in batches.
At this point, you should have images fully optimized for the web. There are no general rules for the weight of an image. Usually, it is said that images should not exceed 100KB. However, a large image should as much as possible be under 500KB while a medium-size image could potentially be slightly larger than 100KB.
Step 3: enter the name of the file, the attributes “alt” and “title”
In addition to boosting the performance of your site, optimizing your images can also boost your visibility. Indeed, image referencing is a discipline that is growing. The search Google Images can become an important lever for acquiring your company.
To give yourself the maximum chance of getting back among the top positions of Google Images, it is essential to fill in some relevant information in the right places. Indeed, search engine robots are still not able to understand what an image presents. Let us offer him information in a language that he understands and interprets correctly: the text.
Rename the base file
The first phase is to rename your image file before uploading it. For example, your sunset photo in Corsica called “DSC_0001. JPG ”must be renamed“ sunset-corse.jpg ”. We bring here the first piece of information defining what the image represents.
Be careful not to use underscore “_”. We will always prefer the classic dash “-“. For its part, the classic dash is understood as space, this same expression will therefore be interpreted as “Corsican sun layer”.
Fill in the “alt” and “title” attributes
There are a few other important criteria for optimizing the SEO of your images. We are generally interested in the “alt” and “title” attributes.
For the record, the “alt” attribute, for “alternative text”, was created to allow visually impaired people to obtain a voice transcription. Thanks to accessibility software, called text-to-speech screen readers, people with visual disabilities can understand what the images on a website represent.
As for him, the title attribute is as its name suggests the title that you give to your image. It is less essential than the “alt”. Indeed, this attribute is more user-oriented than SEO. Tests have shown that it can have a slight impact on the ranking of your images.
These two elements must therefore be completed with a relevant description of your image. They will allow Google and people with disabilities to better understand what your visuals represent.
And after?
To optimize the performance of your site or to boost your positions on Google Images, it is essential to work on the various criteria mentioned in our article.
You can check the impact of the weight of your images on the web performance of your site. Indeed, some free tools are allowing to test live a certain number of technical elements. The most common are GTmetrix and Dareboost.
Remember to regularly audit your site, or a few targeted pages, and optimize your images if necessary.
